
Running an online shop can be brilliant, but getting your products to stand out is often the real challenge. Customers browsing your site cannot pick up or examine items in person, so the photos you provide become absolutely crucial. Fortunately, creating professional-looking product images does not require a massive budget or fancy equipment. With a bit of creativity, some readily available tools, and a few tried-and-tested techniques, anyone can capture eye-catching shots that help boost sales and build trust with potential buyers.
Getting started with budget-friendly photography kit
One of the most encouraging aspects of modern photography is that you do not need to invest thousands of pounds in professional cameras to achieve impressive results. Many online sellers have discovered that the smartphone tucked away in their pocket is more than capable of producing high-quality images. The cameras built into today's mobile devices have come on leaps and bounds, often featuring advanced sensors and clever software that can rival dedicated cameras in good conditions. The key is knowing how to use what you have effectively, rather than worrying about what you lack.
Making the Most of Your Smartphone Camera
Smartphones have become remarkably powerful photography tools, and for product photography, they offer several advantages. The portability and ease of use mean you can snap photos whenever inspiration strikes or when the light is just right. To get the best from your phone, start by giving the lens a proper clean with a soft cloth. It sounds simple, but smudges and fingerprints can seriously affect image sharpness. Most smartphones also allow you to lock focus and exposure by tapping and holding on the screen, which gives you greater control over how your product appears. Experiment with your device's settings, and if available, shoot in a higher resolution mode or even use a manual camera app for finer adjustments. The results can genuinely surprise you.
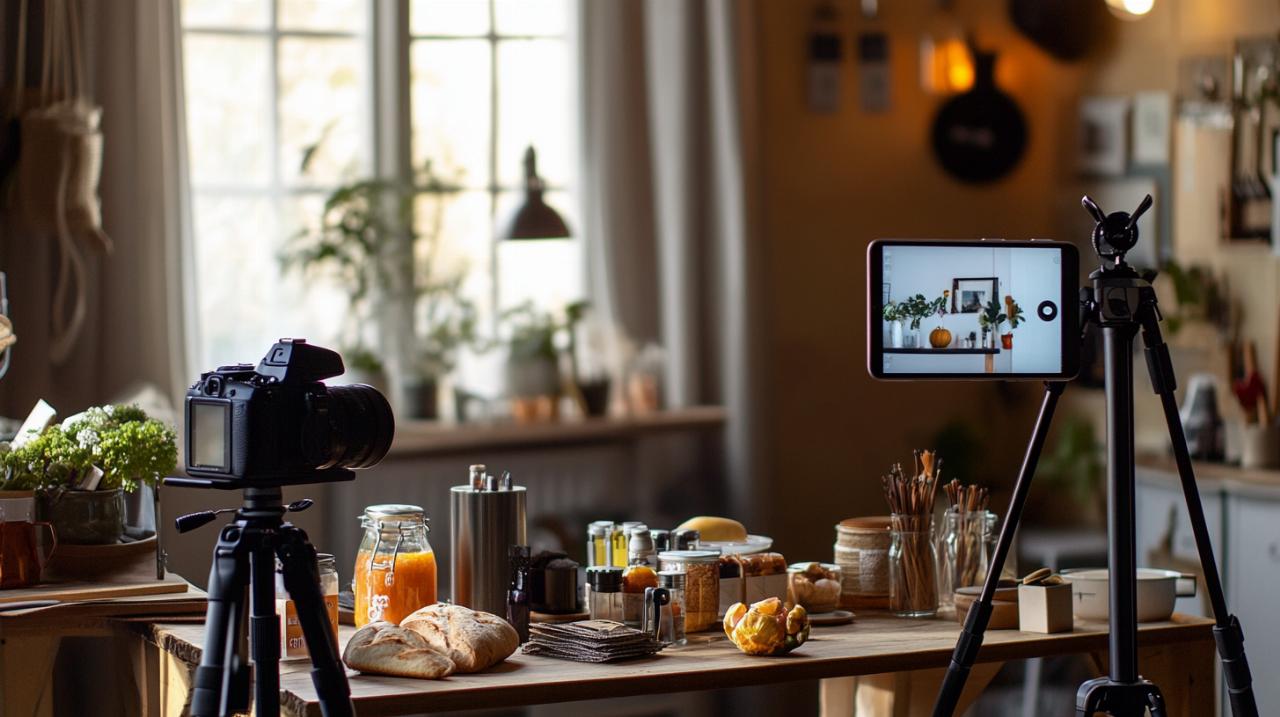
Essential low-cost accessories worth having
While your smartphone is the star of the show, a few inexpensive accessories can elevate your photography significantly. A basic tripod, which you can pick up for less than thirty quid, is an absolute game-changer. It keeps your camera steady, eliminates unwanted blur, and frees up your hands to adjust products or lighting. Reflector cards, often just pieces of white foam board or card, are another brilliant addition. They bounce light back onto your product, filling in shadows and creating a more balanced, professional look. A simple white backdrop, which might cost as little as a pound for a large sheet of paper or fabric, provides a clean, distraction-free setting that lets your product shine. These small investments make a world of difference without breaking the bank.
Mastering Natural and Artificial Lighting Without Breaking the Bank
Lighting is arguably the most important element in product photography. It can transform an ordinary snapshot into something that looks polished and appealing. The good news is that you do not need expensive studio lights to achieve this. Natural light, which is completely free, often provides the most flattering and true-to-life results. Understanding how to harness it effectively is a skill that will serve you brilliantly.
Using window light to your advantage
Natural light streaming through a window can be your best mate when photographing products. The trick is to position your setup near a window that receives plenty of indirect sunlight. North-facing windows are particularly useful in the UK, as they provide consistent, diffused light throughout the day without harsh shadows. Avoid placing your product directly in the path of strong sunlight, as this can create unwanted glare and overly bright spots. Instead, shoot during the brightest part of the day but keep your workspace a bit away from the window itself. If the light is still too harsh, you can soften it further by hanging a sheer white curtain or even a bedsheet across the window. This simple trick diffuses the light beautifully, giving your products a soft, even glow that looks incredibly professional.
Affordable diy lighting solutions for product shoots
When natural light is not available or consistent enough, you can create your own lighting setup without spending a fortune. A basic softbox, which you can find online for a reasonable price, diffuses artificial light and mimics the gentle quality of window light. Alternatively, you can build a DIY version using a desk lamp and some white fabric or baking paper to soften the output. Position your light source at an angle to your product rather than directly overhead or in front, as this creates depth and highlights textures. Adding a second light or a reflector on the opposite side helps balance the exposure and reduces harsh shadows. With a bit of trial and error, you will discover what works best for your specific products, and the results will look far more expensive than the setup actually cost.
Creating Professional-Looking Backgrounds and Settings on the Cheap
The background and overall composition of your product photo play a huge role in how professional and appealing the final image appears. Cluttered or distracting backgrounds can take attention away from what you are trying to sell, while clean, simple settings allow your product to take centre stage. The good news is that creating polished backgrounds does not require a dedicated studio or pricey materials.
Simple background materials that look brilliant
A plain white background is often the go-to choice for product photography, and for good reason. It is clean, timeless, and keeps the focus squarely on the item being sold. You can create this look using white poster board, foam core, or even a large piece of white fabric draped over a table or wall. If you want a bit more variety, consider using neutral colours like light grey or beige, or even textured surfaces like wood or marble contact paper for added visual interest. The important thing is to keep the background uncluttered and complementary to your product. When editing, you can easily remove or refine the background using free software or even artificial intelligence tools that have become remarkably effective in recent years. Many small businesses using such tools have reported significant cost savings while maintaining high-quality images.
Styling Props and Composition Tricks for Eye-Catching Shots
While keeping things simple is key, thoughtful styling can add context and appeal to your product photos. Props should be relevant and enhance the product rather than overshadow it. For example, if you are selling handmade candles, a few sprigs of lavender or a cosy knitted blanket nearby can suggest ambiance without overwhelming the shot. When it comes to composition, the rule of thirds is a helpful guideline. Imagine dividing your frame into a three-by-three grid and placing your product along those lines or at the points where they intersect. This creates a more dynamic and visually pleasing image than simply centring everything. Experiment with different angles and perspectives as well. Shooting from slightly above or at eye level can reveal details and dimensions that a straight-on view might miss. The more you play around with composition, the more you will develop an eye for what makes an image truly stand out.