
Picking up a digital SLR for the first time can feel a bit overwhelming, with dials, modes and menus all promising better pictures if only you knew what they did. The good news is that once you grasp a handful of core principles, everything else starts to click into place. This guide walks through the fundamentals that photographers like Sandy Noto, who specialises in food photography, travel photography and cinemagraphs, rely on every day, giving you the confidence to move off automatic mode and start shooting with real intention.
Key points
- The exposure triangle, consisting of aperture, shutter speed, and ISO, is the fundamental concept for achieving correct lighting and desired mood in photography.
- Aperture controls the amount of light entering the lens and influences depth of field, with lower f-stop numbers creating a blurred background effect known as bokeh.
- Shutter speed dictates how motion is captured, where fast speeds freeze action and slow speeds create creative motion blur.
- Switching to manual mode allows photographers to gain full control by adjusting aperture, shutter speed, and ISO based on specific shooting conditions.
- Effective composition techniques, such as the rule of thirds and the use of leading lines, are essential for transforming ordinary snapshots into striking images.
- Mastering light management—whether natural or artificial—is considered the most crucial skill for elevating the quality of photographs.
- Post-processing techniques like adjusting exposure and contrast help refine images, while consistent hands-on practice remains the best way to develop genuine photographic skills.
Mastering the Exposure Triangle: Aperture, Shutter Speed and ISO
Every well-exposed photograph comes down to three settings working together, often called the exposure triangle. Get to grips with these and you'll understand not just how to take a correctly lit shot, but how to shape its entire mood and feel. It sounds technical at first, but the logic behind it is refreshingly simple once you've seen it in action a few times.
Understanding Aperture and Depth of Field Control
Aperture refers to the opening in the lens that lets light through to the sensor, and it's measured using something called an f-stop. Confusingly, a lower f-stop number, such as f/5.6, actually means a wider opening, which lets in more light and produces a shallower depth of field. This is what gives you that lovely soft, blurred background you often see behind a sharply focused subject, an effect known as bokeh. It's a favourite trick in portrait and food photography, where you want the subject to pop while everything else gently melts away. A higher f-stop, on the other hand, keeps more of the scene in focus, which is ideal for landscapes or architectural shots where detail throughout the frame matters.
Balancing Shutter Speed for Motion and Sharpness
Shutter speed determines how long the camera's shutter stays open to let light hit the sensor, and it has a huge effect on how motion is rendered in your images. A slower shutter speed allows moving elements to blur across the frame, which can be used creatively to suggest movement, flowing water or bustling crowds. A faster shutter speed does the opposite, freezing action in crisp detail, which is essential for sports, wildlife or any fast-moving subject. Choosing between the two isn't just a technical decision either, it's a creative one that shapes the story your photograph tells.
Essential Camera Settings and Composition Techniques for Stunning Images
Once you're comfortable with exposure, the next step is learning how to arrange what's inside the frame. Good composition can turn an ordinary scene into something genuinely striking, and it's often the difference between a snapshot and a photograph people actually stop to look at.
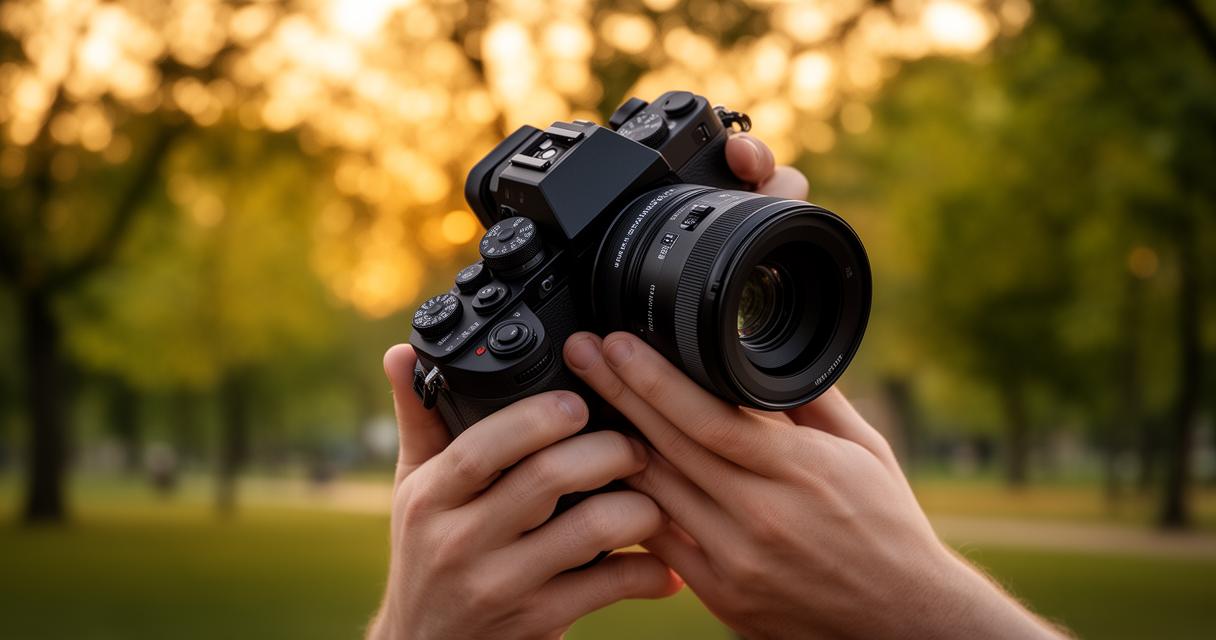
Navigating your digital slr's manual mode
Switching to manual mode can feel daunting, but it's the fastest way to properly understand your camera. Sandy Noto learned largely through trial and error after starting out with a Nikon, and that hands-on approach remains one of the best ways to build genuine skill. A practical method that many photographers swear by is to choose your aperture first, based on the depth of field you want, then adjust your shutter speed and finally fine-tune your ISO, which reflects your camera sensor's sensitivity to light. Back in the days of film, ISO was fixed for an entire roll, but with digital cameras you can change it shot by shot, giving you enormous flexibility in tricky lighting situations without needing to swap equipment.
Rule of Thirds and Advanced Framing Methods
Composition doesn't need to be complicated to be effective. The rule of thirds, where you imagine your frame divided into a three-by-three grid and place key elements along those lines or their intersections, remains one of the simplest ways to create balance and visual interest. Beyond that, consider these approaches when framing a shot:
- Leading lines that draw the eye naturally towards your subject
- Framing elements such as doorways or branches to add depth
- Negative space to give a subject room to breathe
These techniques work brilliantly across genres, whether you're shooting a bustling street scene during travel photography or capturing intimate moments at a wedding photography session.
Lighting Principles and Post-Processing Workflow for Professional Results
Light is arguably the single most important ingredient in photography, more influential than any camera body or lens you might own. Learning to read and shape it, whether it's pouring through a window or coming from a studio flash, will elevate your work more than almost any other skill.
Natural and artificial light management strategies
Soft, diffused natural light, such as that found on an overcast day or during the golden hour just after sunrise, tends to be far more forgiving and flattering than harsh midday sun. When working indoors or in low light, artificial sources like reflectors, softboxes or even a simple lamp can be used to fill in shadows and shape your subject. Photographers working across food photography and portraiture often manipulate light direction deliberately to highlight texture, whether that's the steam rising off a dish or the contours of a face.
Basic editing techniques to enhance your photographs
Post-processing isn't about faking a photograph, it's about bringing out what was already there. Simple adjustments to exposure, contrast and colour balance can make a noticeable difference, and cropping can help refine composition after the fact. Many photographers also experiment with more creative formats, such as cinemagraphs, which blend still photography with subtle looping motion for a striking hybrid effect. Sandy Noto's own blog, in a post dated 18th August 2017, offers further photography tutorials alongside practical photography tips covering wedding photography and cinemagraph techniques, well worth a look for anyone wanting to go deeper.
Ultimately, no amount of reading replaces time spent behind the camera. Continuous practice, making mistakes, reviewing your results and trying again is what turns theoretical knowledge into instinct. Pick up your digital SLR, experiment with aperture, shutter speed and ISO in different situations, and before long these settings will feel like second nature rather than a puzzle to solve.