
Documenting your DIY home renovation journey is just as rewarding as the transformation itself. Whether you're tearing down walls, installing new fixtures, or simply giving a room a fresh coat of paint, capturing these moments allows you to share your progress and celebrate your achievements. With a bit of knowledge and the right approach, even those without formal training can produce images that truly reflect the effort and creativity poured into every project. It's all about showcasing your hard work in the best possible light, isn't it?
Essential Camera Settings and Equipment for DIY Project Photography
Getting to grips with your camera and its settings is the first step towards producing images that do justice to your renovation work. Many enthusiasts wonder whether they need expensive equipment to achieve professional-looking results. The truth is, while high-end gear can offer advantages, understanding the fundamentals of photography and making the most of what you have is far more important. A decent digital camera, whether a DSLR or even a modern smartphone, can deliver impressive results when used correctly.
Choosing the Right Camera and Lenses for Interior Shots
When selecting a camera for interior photography, consider models that allow manual control over settings. Many photographers recommend starting with a reliable DSLR such as the Canon EOS range, which offers a good balance between quality and affordability. These cameras provide the flexibility needed to adjust to varying light conditions and spatial constraints typical of home environments. For those just beginning, a camera with a decent sensor and the ability to change lenses will serve you well as you develop your skills.
Lenses play a crucial role in how your finished images convey the space. For smaller rooms, a wide-angle lens helps to capture more of the area without making the viewer feel cramped. However, it's important to avoid going too wide, as extreme focal lengths can distort the image and make walls appear curved or unnatural. A lens around the range of twenty-four to thirty-five millimetres is often ideal for conveying a sense of openness while maintaining realistic proportions. In contrast, larger spaces may benefit from a tighter lens, which can create a more intimate atmosphere and draw attention to specific details rather than overwhelming the viewer with scale. Investing in a fifty-millimetre lens is also a wise choice for close-up shots, as it offers a shallow depth of field that beautifully highlights textures and finishes, making your hard work stand out.
Mastering natural and artificial lighting techniques
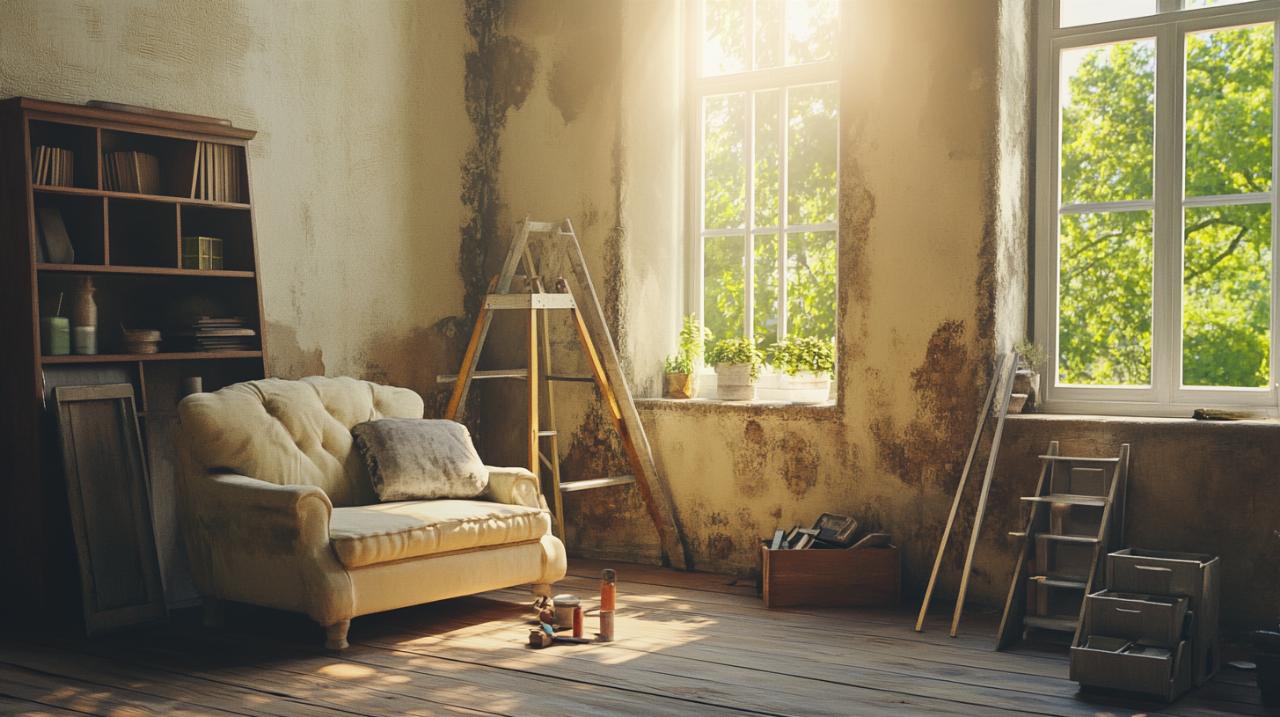
Lighting is arguably the most critical element in interior photography. Natural daylight is your best friend when capturing the true colours and ambience of a room. Whenever possible, schedule your photo sessions during times when soft, indirect light floods through windows. Early morning or late afternoon light tends to be gentler and more flattering than the harsh midday sun, which can create strong shadows and overexposed areas. On overcast days, the diffused light can be particularly advantageous, offering even illumination without harsh contrasts.
One of the most valuable stunning photography tips is to turn off or dim artificial lights before taking your shots. Tungsten bulbs and other non-white light sources can cast a yellowish tone over your images, which detracts from the natural beauty of your renovation. While it may seem counterintuitive to reduce light, relying on natural daylight ensures that colours remain true and the atmosphere feels authentic. If you must use artificial lighting, consider investing in daylight-balanced bulbs or using reflectors to bounce natural light into darker corners.
Understanding manual camera settings is essential for controlling how light is captured. The ISO setting determines your camera's sensitivity to light; lower values are ideal for bright conditions, while higher values help in dimmer environments but can introduce grain. The aperture, measured in F-stops, controls the depth of field and the amount of light entering the lens. A lower F-stop number opens the aperture wider, allowing more light and creating a blurred background, perfect for emphasising specific details. Shutter speed dictates how long the camera's sensor is exposed to light. Slower speeds capture more light but require a steady hand or tripod to avoid blur. Many cameras offer a live mode feature, allowing you to preview how adjustments to these settings affect the image in real time, making it easier to fine-tune your shots before pressing the shutter.
Composition and Styling Secrets for Brilliant Renovation Photos
Beyond technical settings, the way you compose and style your shots can elevate your photography from ordinary to extraordinary. Thoughtful composition guides the viewer's eye and tells the story of your renovation, highlighting the transformation and the effort invested. Taking the time to arrange elements within the frame and considering the overall narrative can make a significant difference in the final result.
Framing your space to highlight your hard work
When photographing interiors, maintaining vertical alignment is crucial. Keeping the camera straight ensures that walls and door frames appear upright rather than tilted, which can disorient the viewer and detract from the professionalism of the image. Most modern cameras and smartphones feature gridlines or level indicators that help achieve perfect horizontal and vertical lines. Using these tools will ensure your images look polished and intentional.
Framing your shots through doorways or from corners can add depth and context to your images. Shooting through a doorway allows you to capture multiple rooms or layers, creating a sense of flow and connection between spaces. This technique also provides a natural frame within the photograph, drawing the eye towards the focal point of the renovation. Experimenting with different angles is another effective strategy. Rather than always shooting from eye level, try crouching down or elevating your perspective to discover unique viewpoints that showcase the space in unexpected ways.
Incorporating diagonal lines rather than static, parallel compositions keeps the viewer's eye engaged and adds dynamism to your images. Instead of photographing objects square on, consider tilting them at a forty-five-degree angle. This approach creates movement within the frame and prevents the image from feeling flat. Layering objects by pulling some closer to the camera also adds depth, making the photograph feel more three-dimensional and inviting.
Decluttering the space before shooting is essential. Removing unnecessary items and tidying up ensures that the focus remains on the renovated elements rather than distractions. While some imperfections and lived-in details can add authenticity and tell a story, excessive clutter can make the image feel chaotic. Striking a balance between a clean, styled look and a realistic, relatable atmosphere is key to creating compelling renovation photography.
Before and after photography strategies that impress
Documenting the transformation through before and after photography is one of the most powerful ways to showcase your DIY efforts. Consistency is vital when creating these comparison shots. Use the same camera position, lens, and lighting conditions for both the before and after images to ensure that the changes are clear and impactful. Mark the spot where you stand or use a tripod to maintain the exact framing across both sessions.
Timing your before photos is just as important as the after shots. Capture the space in its original state before you begin any work, ensuring that the lighting and angles match what you plan to use later. This foresight will save you frustration and make the comparison far more effective. If possible, take multiple shots from various angles during the before stage, giving you options when it comes time to select the most compelling images.
Post-editing can enhance your before and after photos, but it's important not to overdo it. Subtle adjustments to brightness, contrast, and colour balance can help ensure that both sets of images look cohesive and professional. Software such as Adobe Photoshop allows you to fine-tune details and correct any minor issues, but the goal is to present an honest representation of your work. Over-editing can make images look artificial and diminish the authenticity of your renovation story.
Telling a story through your photography involves more than just showing the physical changes. Consider including shots that capture the process itself: tools in use, materials being installed, and moments of progress along the way. These images add context and personality, allowing viewers to appreciate not just the finished result but the journey that led there. Arranging accessories and furniture thoughtfully in your after shots can also help convey the intended use and atmosphere of the renovated space, making the transformation feel complete and lived-in.
Finally, when sharing your images on platforms such as Instagram, keep in mind that simplicity and clarity often resonate best. Punchy, graphic compositions with a clear focal point tend to perform well, especially when paired with concise captions that highlight key aspects of the renovation. Portrait orientation can work particularly well for social media, drawing the eye vertically and making the most of mobile screens. By combining technical skill with thoughtful composition and storytelling, you can create a visual narrative that truly celebrates your DIY home renovation achievements.