Modern drones have transformed the way we capture aerial footage and explore the skies, but unlocking their full potential requires a solid connection between your aircraft and mobile device. Whether you are piloting a sophisticated quadcopter or a more modest consumer model, establishing a reliable Wi-Fi link ensures smooth control, real-time video streaming, and access to advanced flight features. This guide walks you through the essential steps to connect your drone to Wi-Fi, making the process straightforward and accessible even for those new to aerial technology.
- A stable Wi-Fi connection between your drone and mobile device is essential for smooth flight control and real-time video streaming.
- Before connecting, ensure both the drone and remote control batteries are fully charged to prevent power failures during the setup process.
- Verify that a memory card is correctly installed and has sufficient storage to avoid interruptions while recording footage.
- Download and install the official manufacturer's application on your mobile device, ensuring all necessary permissions like GPS and camera access are granted.
- Activate the drone's Wi-Fi mode by powering it on and consulting the manual to identify the specific wireless network broadcasted by the aircraft.
- Connect your smartphone or tablet to the drone's Wi-Fi network through your mobile device's network settings using the provided default password.
- Once connected, launch the drone's app to confirm the link is active and complete any required initial calibrations or firmware updates.
Preparing Your Drone and Mobile Device for Wi-Fi Connection
Before attempting to establish a wireless connection, it is crucial to ensure that both your drone and your mobile device are fully prepared. This initial phase lays the groundwork for a seamless setup and helps prevent common issues that could disrupt your flight experience. Taking a few moments to check essential components and download the necessary software can save considerable time and frustration later on.
Checking battery levels and memory card status before setup
The first step in preparing your drone involves inspecting the battery levels of both the aircraft and the remote control. A fully charged battery ensures that the device remains powered throughout the connection process and during subsequent flights. Many pilots overlook this detail, only to discover mid-setup that their equipment has insufficient power to complete the pairing. In addition to battery checks, it is wise to verify that your memory card is properly inserted and has adequate storage space. Although the memory card does not directly affect Wi-Fi connectivity, having it correctly configured from the outset prevents interruptions when you begin recording footage. Some drone models will not initiate certain functions if the memory card is missing or full, so confirming its status is a prudent precaution.
Downloading and Installing the Required Mobile Application
Once the hardware is ready, the next step is to download the official application designed for your drone model. For DJI drones such as the Mavic 3 or Inspire 3, the manufacturer provides dedicated apps that facilitate communication between the aircraft and your smartphone or tablet. These applications are available on both iOS and Android platforms, ensuring broad compatibility across devices. After locating the correct app in your device's app store, install it and grant any necessary permissions, such as access to location services and the camera. These permissions are essential for features like GPS tracking and live video streaming. Opening the app before you attempt to connect the drone allows you to familiarise yourself with the interface and ensure that the software is up to date. Many apps will prompt you to create an account or log in, which can be useful for accessing flight logs and firmware updates. Completing this step in advance streamlines the connection process and reduces the likelihood of encountering unexpected prompts during setup.
Establishing the Wi-Fi Link Between Your Drone and Remote Control
With your equipment prepared and the mobile application installed, you are now ready to establish the Wi-Fi link that enables communication between your drone and your device. This phase involves activating the wireless network on the drone and pairing it with your smartphone or tablet. Following these steps carefully ensures that the connection is stable and that you can access all the features available through the app.
Activating Wi-Fi Mode on Your DJI Mavic or Autel Drone
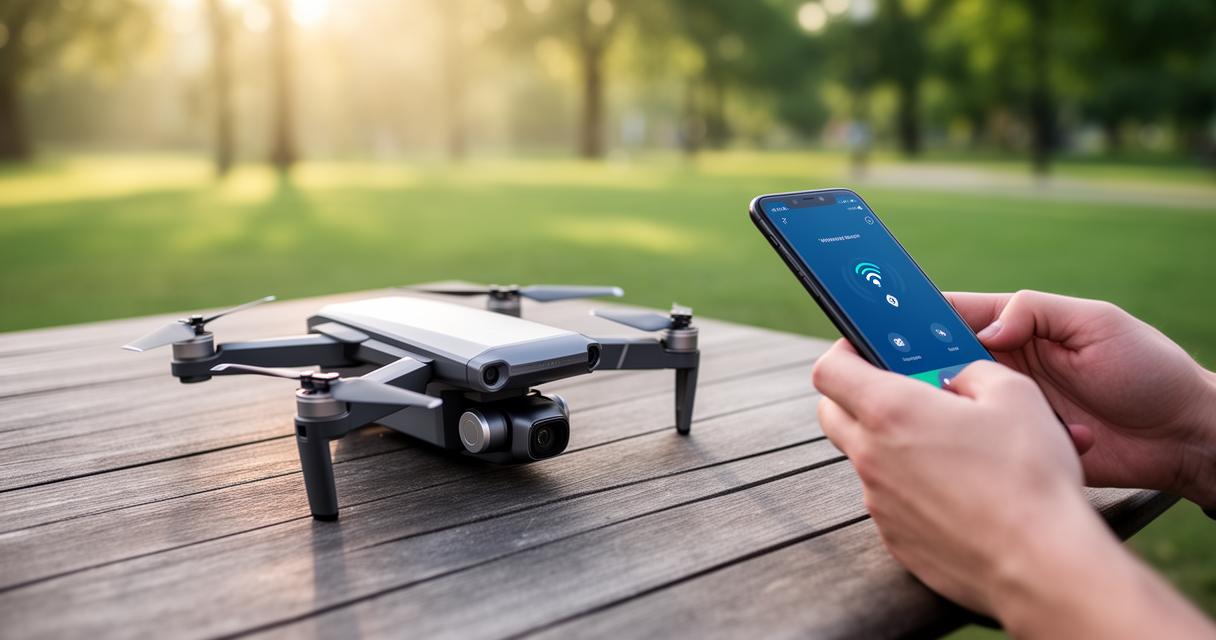
To begin the connection process, power on your drone by pressing and holding the power button until the indicator lights illuminate. Most modern drones, including popular models from DJI and Autel, are equipped with a Wi-Fi mode that allows them to broadcast a wireless signal. On many devices, this mode is activated automatically when the drone is turned on, but some models require you to navigate through a settings menu on the remote control or the drone itself. Consult your user manual to confirm the specific method for your model. Once Wi-Fi mode is active, the drone will broadcast a network name, often displayed on the remote control screen or listed in the user manual. This network name typically includes the model designation and a unique identifier to distinguish it from other nearby devices. Make a note of this network name, as you will need it in the next step. It is worth mentioning that the Wi-Fi signal emitted by the drone is designed for short-range communication, so ensure that you remain within a reasonable distance during the pairing process to avoid signal dropouts.
Pairing Your Mobile Device with the Drone's Wireless Network
With the drone's Wi-Fi network active, open the Wi-Fi settings on your mobile device and scan for available networks. You should see the network name broadcast by your drone appear in the list of available connections. Select this network and enter the password if prompted. The default password is usually provided in the user manual or printed on a label attached to the drone or its packaging. After entering the password, your mobile device will connect to the drone's network. Once the connection is established, return to the mobile application you installed earlier. The app should automatically detect the drone and display a confirmation message indicating that the link is active. At this stage, you may be prompted to complete additional setup steps, such as calibrating the compass or updating the flight controller settings. Follow any on-screen instructions to ensure that the drone is fully configured and ready for flight. It is important to note that while connected to the drone's Wi-Fi network, your mobile device will not have access to the internet. This is a normal aspect of the connection process, as the device is dedicating its wireless connection to communicating with the aircraft.
Ensuring optimal performance through firmware updates and testing
Once the Wi-Fi connection is established, the final phase involves verifying that everything is functioning correctly and ensuring that your drone is running the latest firmware. These steps are essential for maintaining optimal performance and accessing new features released by the manufacturer. Taking the time to complete these checks can prevent issues during flight and extend the lifespan of your equipment.
Updating your drone's firmware for enhanced connectivity
Firmware updates are released periodically by drone manufacturers to improve performance, fix bugs, and enhance connectivity features. To check for available updates, open the mobile application and navigate to the settings or system information section. The app will typically display the current firmware version and notify you if a newer version is available. If an update is needed, ensure that both the drone and the remote control have sufficient battery power, as the update process can take several minutes and should not be interrupted. Follow the on-screen prompts to download and install the firmware. During the update, avoid powering off the drone or disconnecting your mobile device, as doing so can result in incomplete installation and potential malfunctions. After the update is complete, the drone will restart automatically, and the app will confirm that the latest firmware is installed. Keeping your firmware up to date is one of the most effective ways to ensure reliable Wi-Fi connectivity and access to the latest features, making it a worthwhile investment of time.
Verifying successful connection and troubleshooting common issues
With the firmware updated, it is time to verify that the Wi-Fi connection is working as intended. Open the mobile application and check that the live video feed from the drone's camera is displayed on your screen. If the feed appears without lag or distortion, this is a strong indication that the connection is stable. Test the responsiveness of the controls by gently adjusting the throttle and steering commands to ensure that the drone responds promptly. If you encounter issues such as a failure to connect, intermittent signal loss, or an inability to view the video feed, there are several troubleshooting steps you can take. First, restart both the drone and your mobile device, then attempt the connection process again from the beginning. Ensure that no other devices are connected to the drone's Wi-Fi network, as multiple connections can cause interference. If the problem persists, check that the mobile application has all necessary permissions enabled and that your device's operating system is up to date. In some cases, resetting the drone's Wi-Fi settings to factory defaults and re-pairing the device can resolve persistent connectivity issues. Consulting the manufacturer's support resources or contacting customer service can provide additional guidance if you continue to experience difficulties. By methodically addressing potential problems, you can ensure that your drone is ready for safe and enjoyable flights.